I’ve mentioned in earlier blogs that I wanted to place additional field cameras directly on the game trails, and I did purchase two new cameras. But as frequently is the case, plans change. The stormy weather in the Sierras blew many branches out of the trees, and sadly, in addition to the tree branches, one of our trees wholly uprooted and fell across the main game trail. The tree landed where I wanted to place a camera. Luckily the tree was not one of the towering pines and therefore fell short of the house. So new plan, mount one camera.
After the removal of the fallen tree, I will mount the second camera.
What Type of Field Camera Do I Use?
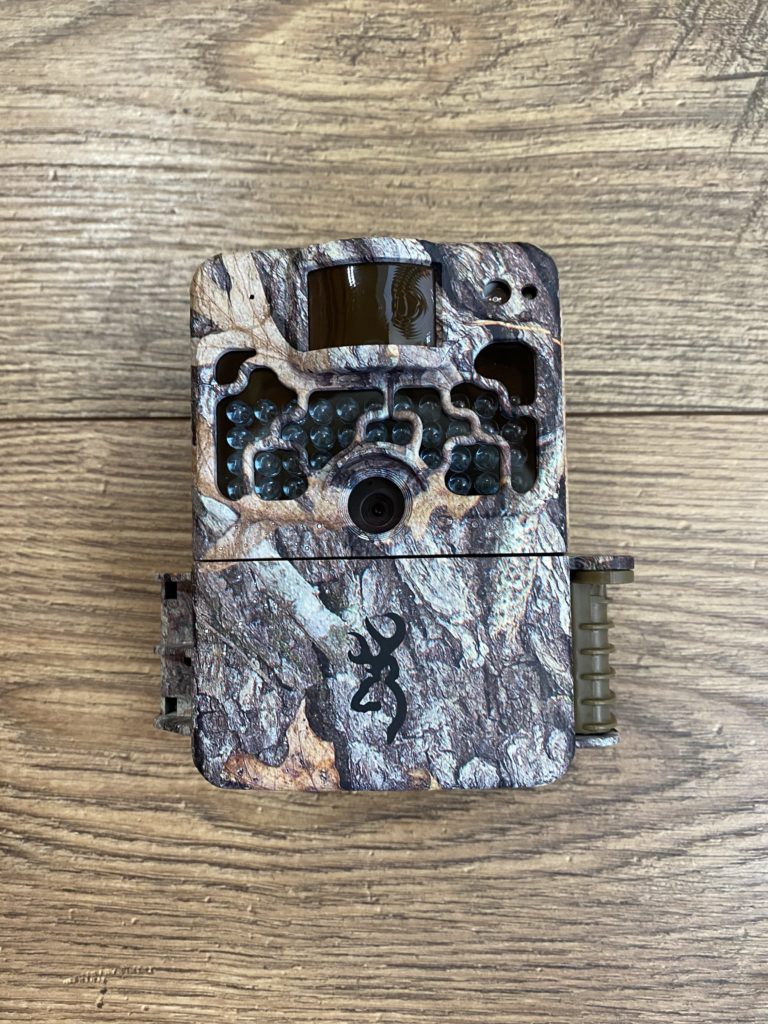
There are many field cameras to choose from. There are field cameras for every skill level and price range. I selected the “easy to use” and less expensive models. My choice for field camera was the Browning Strike Force. This camera is relatively easy to use and serves my purpose. That’s why I have a number of them.
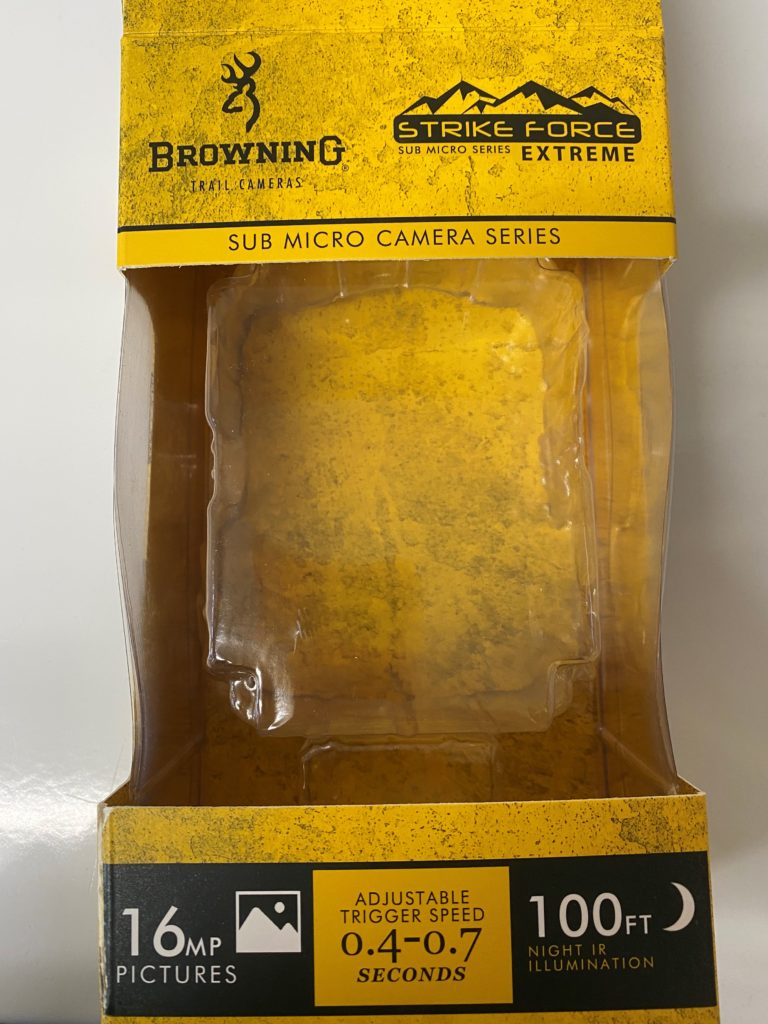
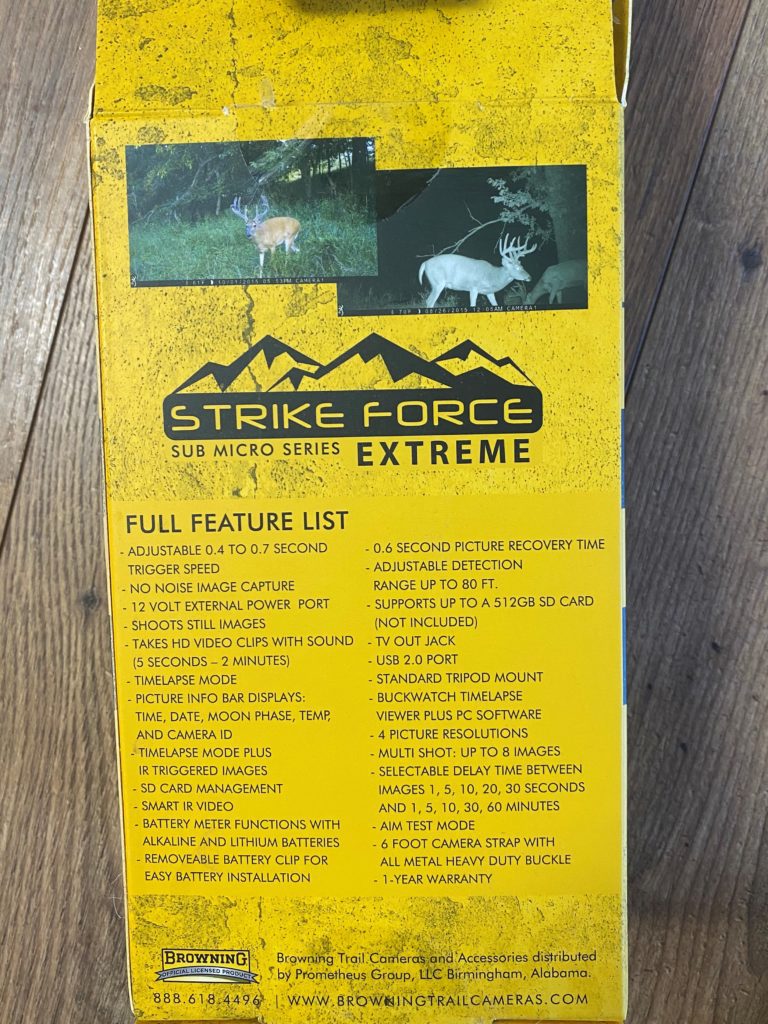
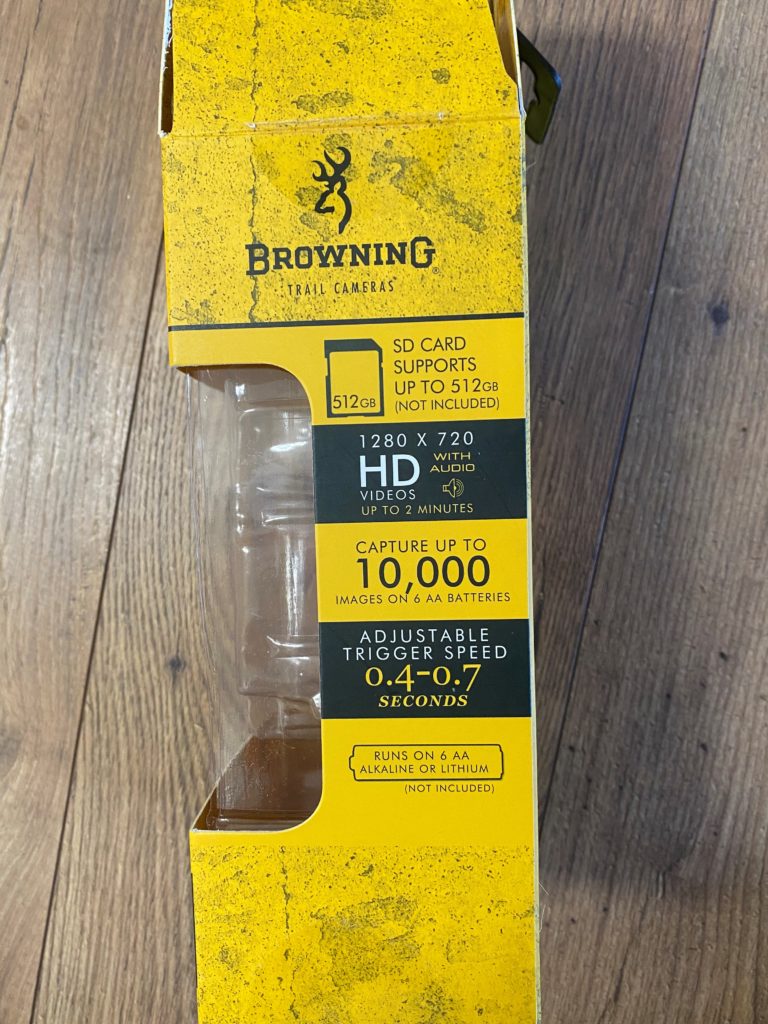
I don’t fully utilize the camera features. My needs are rather basic, but all of the features are listed on the outside of the box. I decided to post a photograph of each side of the box rather than trying to list all of the features.
Setting Up The Camera
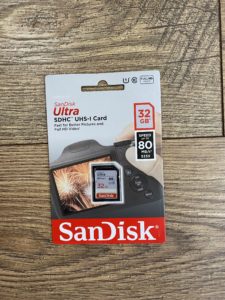
Each of my Browning Strike Force cameras required the additional purchase of a memory card and six batteries. I also put a lock on each camera to prevent theft.
Memory Card
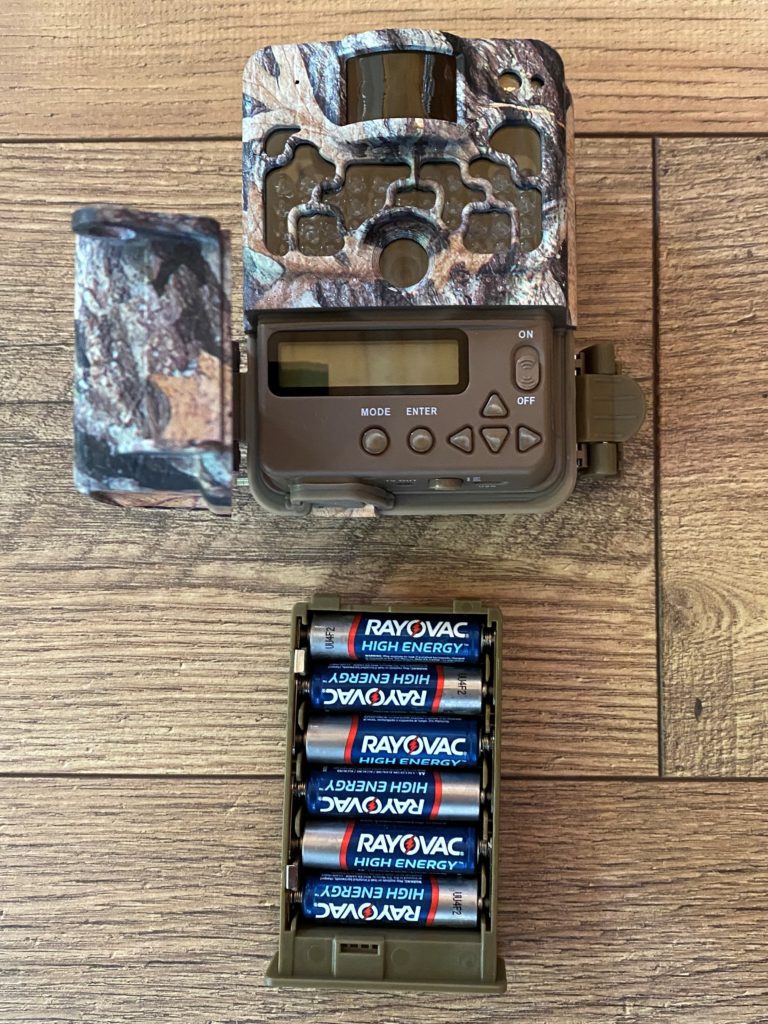
Battery tray with batteries
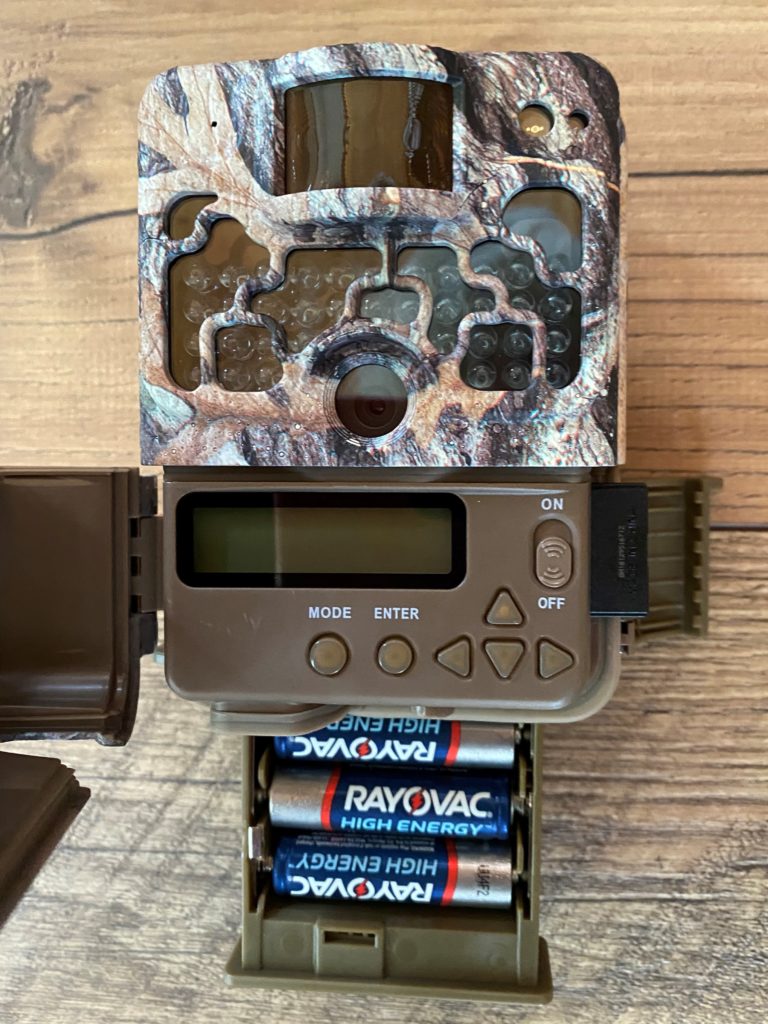
The battery tray slides into the base.
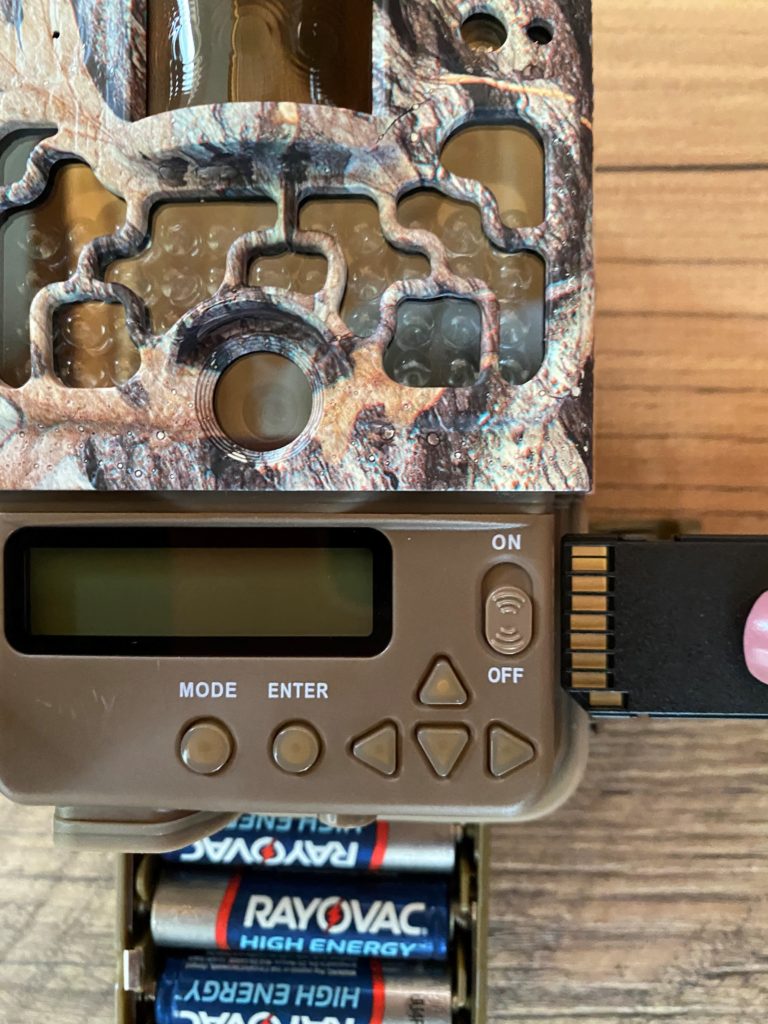
The memory card slides into the slot on the side ofthe camera.
The battery tray for my camera model holds six AA batteries and slides into the base of the camera. The memory card slides into a slot on the side of the camera.
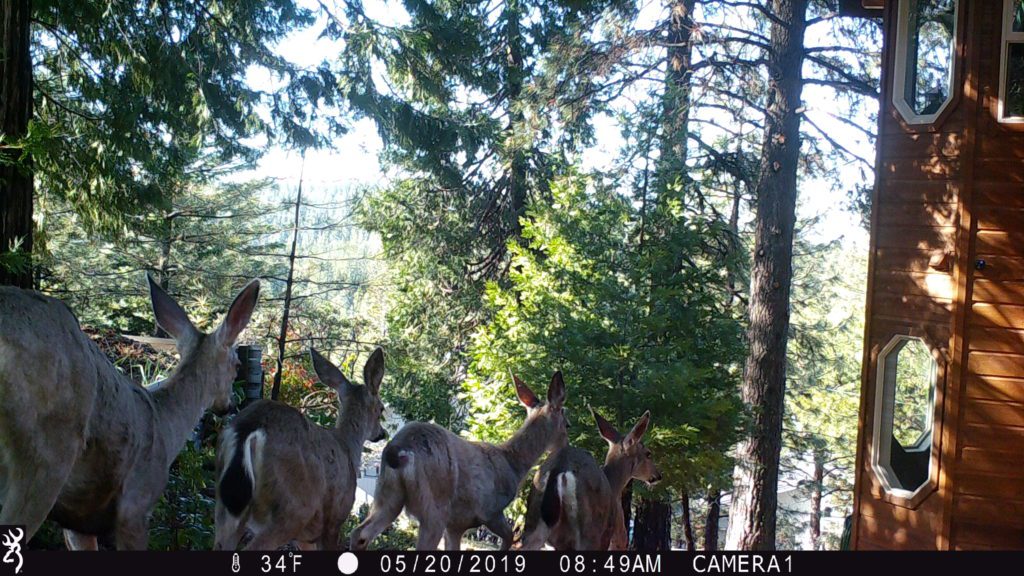
The cameras take photos continuously both day and night, so it is crucial to set the date and time stamp correctly.
My cameras are battery-operated, so I only use the features that will not deplete the batteries too quickly. I don’t use the video features even though I know that I am potentially missing some spectacular footage. Because of the gaps in time I have access the field cameras, I only use the still photo feature.
Placement Of The Camera
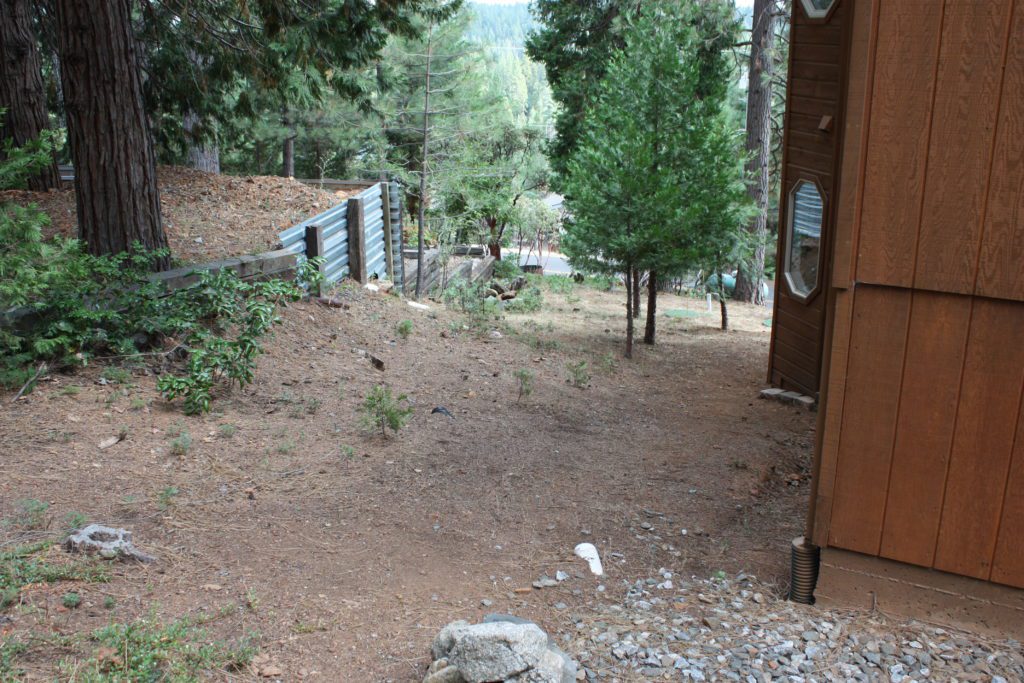
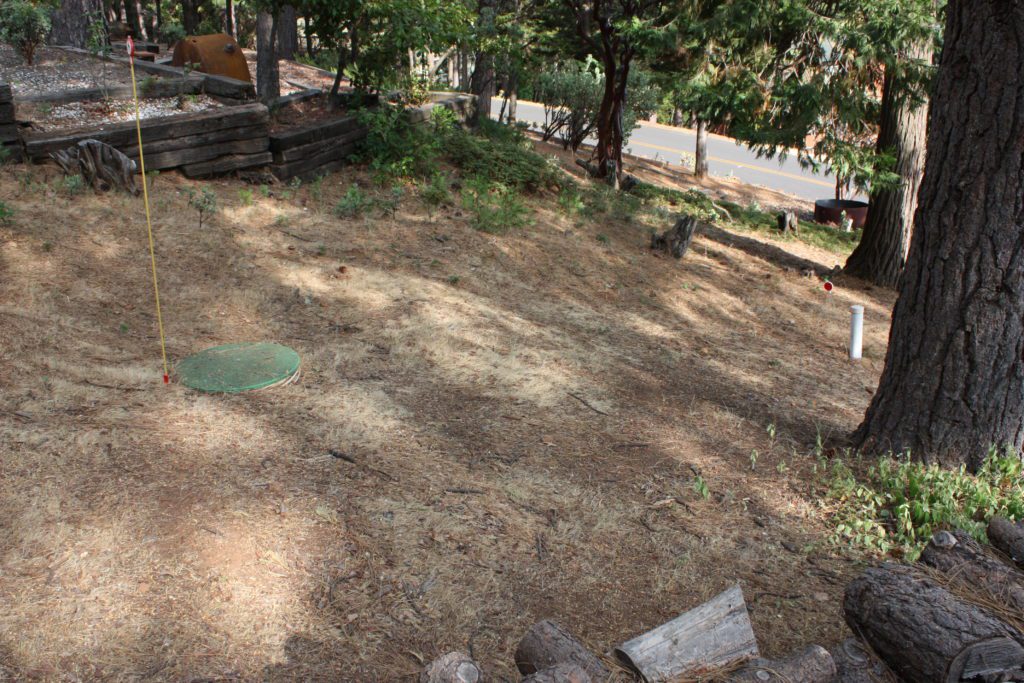
The game trail that I wanted to focus on flows West to East and then splits going South-East and North-East. I want to position the new camera on the South-East portion of the trail and at the bottom.
Western View of the Game Trail
South-Eastern View
Continuation of the South-Eastern Trail
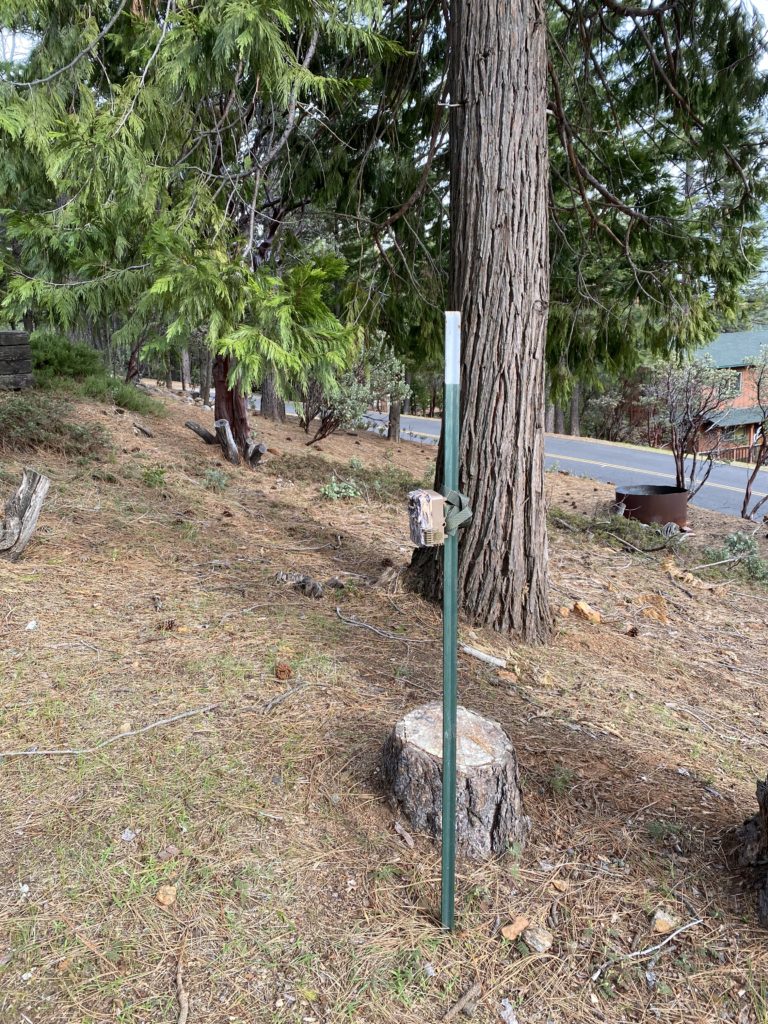
My house is at a higher elevation but not off of the grid, so I do have neighbors, and I have to be mindful of the property lines. I only want to place a camera on my property.
My final goal is to place the camera in a location that will not frighten the animals or deter their movement.
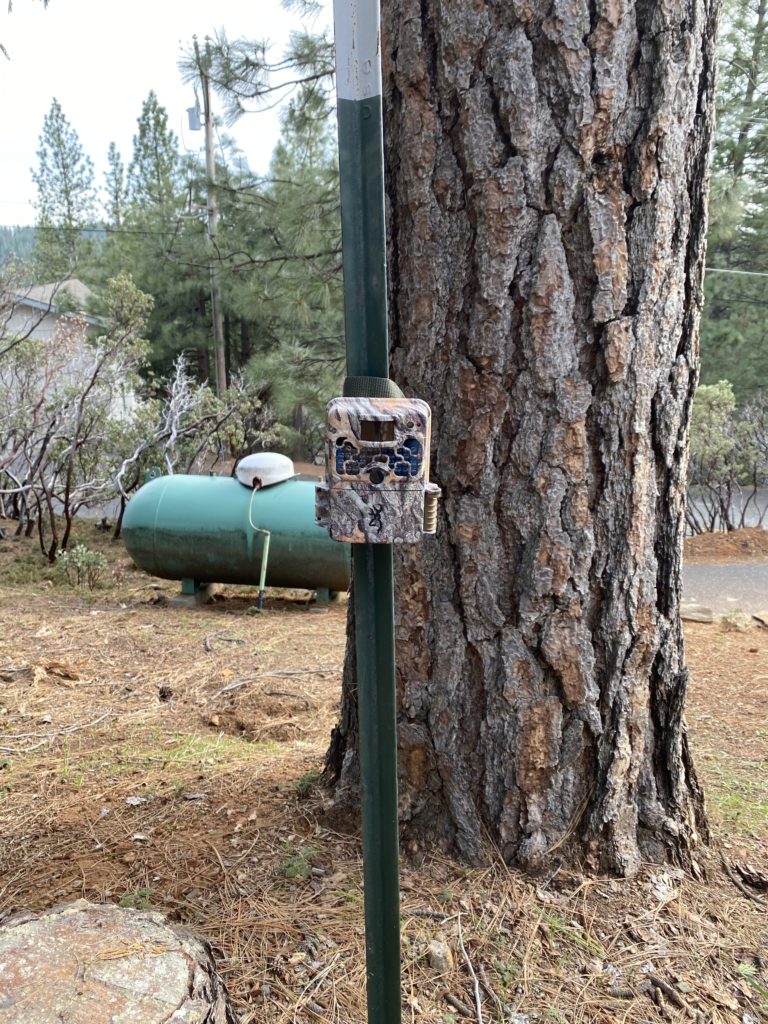
In the two pictures below you can see that I placed the camera in front of a large pine tree.
Once you’ve positioned your camera I recommend that you try a few test photos to make sure your camera is covering the angle you wanted.
This is fun and exciting! I know that you will enjoy seeing visitors that you were unaware of before!
Thank you for your questions about my field cameras. Let me know if you have further questions.
I think this is among the most significant information for me.
And i’m glad reading your article. But wanna remark on few general
things, The website style is wonderful, the articles is really nice :
D. Good job, cheers
Sweet blog! I found it while browsing on Yahoo News. Do you have any tips on how to get listed in Yahoo News?
I’ve been trying for a while but I never seem to get there!
Cheers
I don’t even know how I ended up here, but I thought this post was good.
I do not know who you are but certainly you’re
going to a famous blogger if you are not already 😉 Cheers!